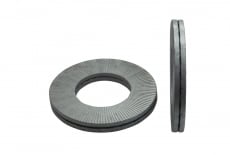
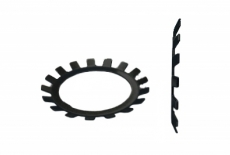
Washers are selected according to the function they perform in an assembly. Some distribute the load from a nut or bolt head, while others provide spring action, compensate for an inclined surface or help prevent a joint from loosening. Certain designs retain a component on a shaft without threads or a groove.
Most washers are easy to remove once the nut or bolt has been unscrewed. However, a tab washer requires its locking element to be disengaged before removal, while removing a Starlock washer may require destroying the washer itself.
Below, we discuss the main designs, their installation procedures and the conditions for reuse.
Main Types of Washers and Their Uses
Flat Washers
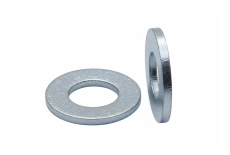
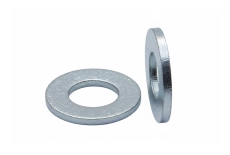
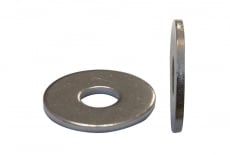
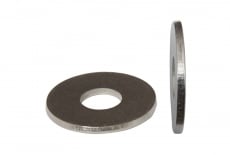
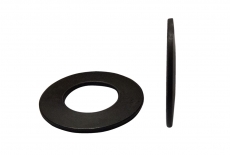
A flat washer increases the bearing area beneath a nut or bolt head. This spreads the load over a larger area of the component and reduces surface damage during tightening.
Installation. The washer is placed beneath the nut, the bolt head or on both sides of the joint, depending on the joint design. The inside diameter must match the fastener, while the outside diameter, thickness and hardness must suit the load and the materials of the components. A washer that is too soft may deform during tightening.
Removal. Once the fastener has been unscrewed, the washer is removed from the bolt or bearing surface. If corrosion has caused it to stick, first address the cause of the seizure. Prying with excessive force may damage the component.
Reuse. Reuse is possible if the washer has retained its shape, has no cracks, significant corrosion or dents, and the assembly requirements permit reinstallation.
Spring Washers
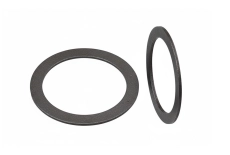
Spring washers deform under load and provide spring action. The amount of deflection and the working range depend on the design.
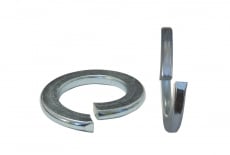
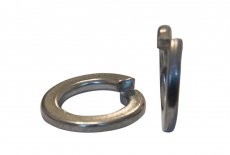
A split spring washer is a split ring with offset ends. Wave washers and curved washers have different geometries and may be used to provide axial preload or accommodate small movements. Disc spring washers serve as spring elements with a calculated load characteristic.
Installation. The split spring washer considered in this example is installed beneath the nut or bolt head if specified in the assembly documentation. The need for a flat washer and the order of assembly are determined by that documentation. Wave washers and disc spring washers require a separate arrangement: the installation rules for split spring washers do not automatically apply to them.
Removal. Once the fastener has been unscrewed, the washer can usually be removed freely.
Reuse. This depends on whether the washer retains its spring shape, is free of cracks and meets the manufacturer’s recommendations. A washer with permanent deformation must be replaced.
A spring shape alone does not guarantee protection against vibration-induced self-loosening.
Structural Washers for HV Assemblies
A structural washer is part of a high-strength bolting assembly for steel structures. It provides suitable support beneath the fastener and must meet the assembly requirements for dimensions and mechanical properties.
Installation. One example is an HV assembly consisting of a property class 10.9 bolt and a property class 10 nut in accordance with EN 14399-4, together with washers in accordance with EN 14399-6. Components must be selected as a compatible assembly; HV and HR systems must not be mixed.
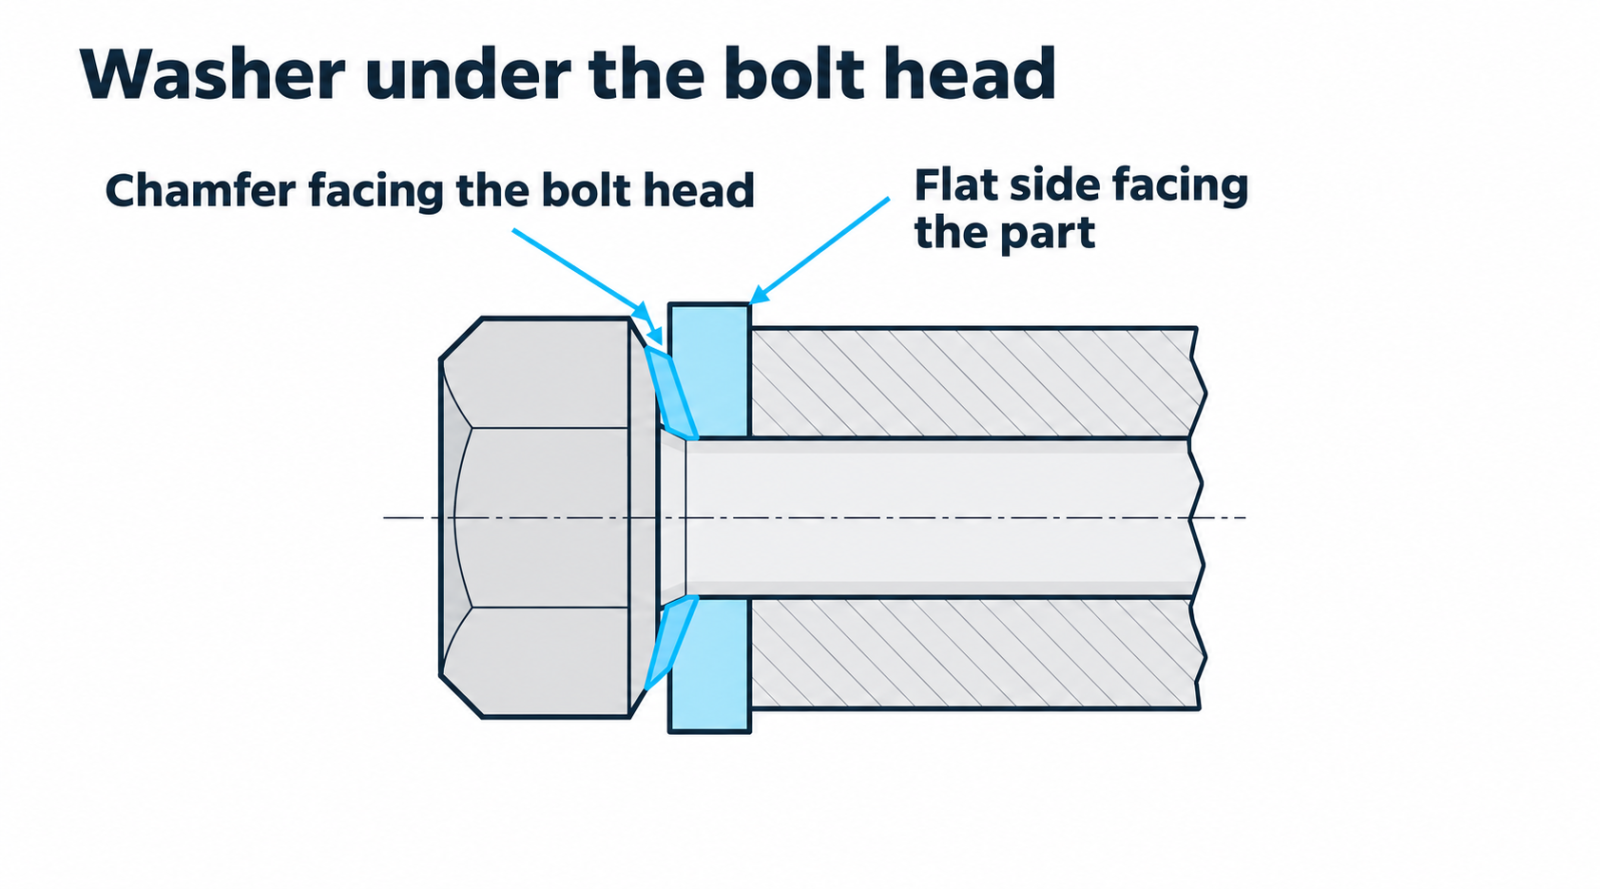
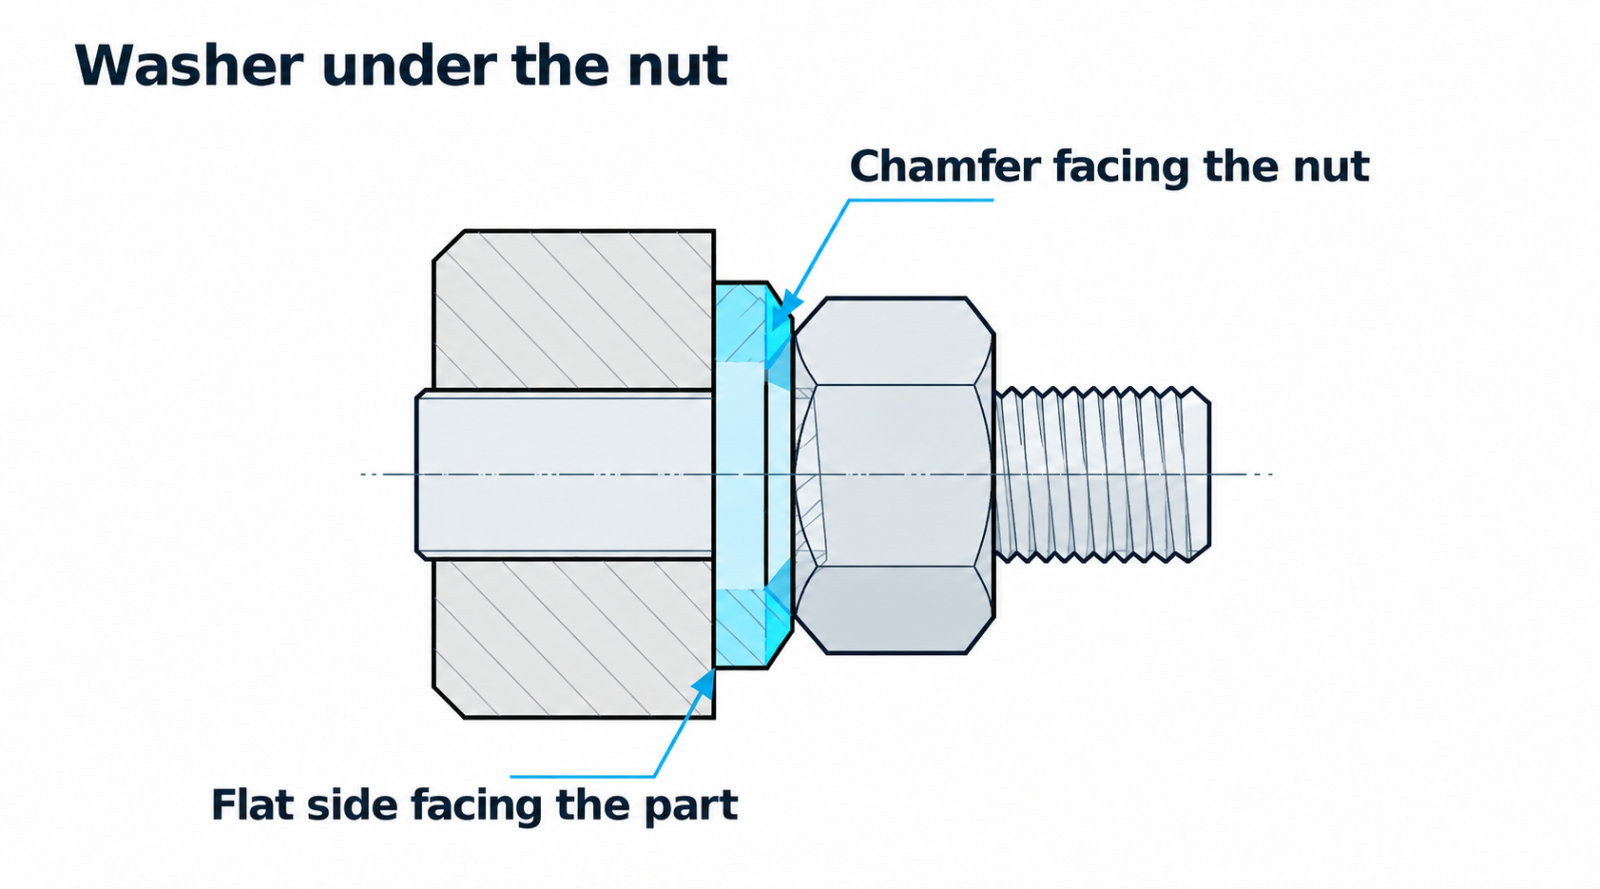
In an arrangement with two chamfered washers, one is placed beneath the bolt head and the other beneath the nut. The chamfers face the head and nut, while the flat sides face the connected components:
| Installation Location | Washer Orientation |
| Beneath the bolt head | Chamfer facing the head |
| Beneath the nut | Chamfer facing the nut |
 |
 |
Before assembly, check the contact surfaces, holes and condition of the bolting assembly. Friction surfaces must be prepared according to the project specifications; coatings must not be altered or lubricant added arbitrarily.
Tightening is performed according to an approved procedure to achieve the required preload. There is no universal tightening torque: the value depends on the assembly, friction and installation method.
Removal. Bolts are released according to the approved procedure for dismantling the structure. Before doing so, ensure the stability of the structural elements and provide any necessary temporary supports. Once the joint has been unloaded and dismantled, the washers are removed.
Reuse. The decision applies to the entire bolting assembly and must follow the project requirements and the manufacturer’s instructions. A washer’s satisfactory appearance does not confirm that the assembly is suitable for re-preloading.
Nord-Lock Washers
Nord-Lock washers use wedge-locking technology. A pair has cam surfaces on the inside and serrations on the outside. The cam angle is greater than the thread helix angle: when the fastener attempts to loosen, movement along the cams counteracts the loss of preload. The external serrations grip the fastener and the bearing surface.
Installation. The washers are installed in pairs, with the cam surfaces facing each other and the serrations facing outward. For standard Nord-Lock Original arrangements, the manufacturer specifies the following:
|
Joint |
Number and Installation Location |
|
Bolt in a tapped hole |
One pair beneath the bolt head |
|
Through-bolt with a nut |
Two pairs: one beneath the head and one beneath the nut |
|
Nut on a stud |
One pair beneath the nut |
In a through-bolted joint, the cam surfaces of both pairs are seated together before final tightening. The suitability of the bearing surfaces must also be checked: very soft materials or surfaces harder than the washers may be unsuitable for this system.
Removal. The nut or bolt is unscrewed using a suitable wrench. During loosening, sliding occurs between the cam surfaces; there is no need to separate the pair with a screwdriver. Once the fastener has been released, both washers are removed.
Reuse. Inspect both washers, checking the cams, external serrations, wear and damage. Replace damaged components. If the pair separates during removal, restore the correct orientation when reassembling it.
Lock Washers: Toothed Washers and Tab Washers
These designs use different locking methods and require different removal procedures.
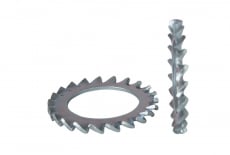
Toothed lock washers engage the fastener and component surfaces with their teeth. Their performance depends on the materials, surface hardness and correct tightening.
The washer is installed beneath the nut or bolt head according to the assembly design. The teeth may mark the surface and damage the coating, which must be considered when selecting the washer. Once the fastener has been unscrewed, the washer is removed. Before reinstallation, check the teeth and ensure there is no deformation.
Tab washers provide mechanical locking. For example, an internal tab engages a groove in the shaft, while an external tab is bent against a flat of the nut or into a slot in the nut after tightening, depending on the design.
Before removal, disengage the tab. Unscrewing a locked nut may tear off the tab or damage the groove. Repeated bending can cause cracks, so the possibility of reuse must be determined according to the manufacturer’s instructions.
These washers should not be confused with Starlock washers, which are retained directly on the shaft by their internal teeth.
Starlock Washers: Installation and Removal of Uncoated AN 82
Starlock is a push-on fastener used to retain components on a smooth shaft or axle. Its internal teeth grip the shaft surface and resist movement in the opposite direction. These fasteners are designed for permanent retention without threads or a groove.
Installation. AN 82 is selected to suit the shaft diameter and material. Check the orientation against the manufacturer’s drawing and on the actual sample: the teeth must deflect elastically as the washer is pushed on and prevent it from moving back.
The washer is installed with uniform axial pressure using a suitable installation tool. The tool’s working surface must apply force to the intended area of the washer without damaging the teeth. Misalignment during installation may impair retention.
Removal. The design does not provide for routine removal while preserving the washer. Attempting to pull it off by force may leave grooves on the shaft or deform the fastener.
Reuse. A washer that has been destroyed or deformed during removal must be replaced with a new one.
Taper Washers
A taper washer compensates for an inclined bearing surface, such as the flange of a particular steel section. It provides a properly aligned bearing surface beneath a nut or bolt head.
Installation. The washer is selected according to the geometry of the section. It is positioned so that the surface beneath the fastener is perpendicular to the bolt axis.
|
Element |
Correct Position |
|
Bottom surface of the washer |
Rests against the inclined flange of the section |
|
Thick and thin sides |
Compensate for the flange inclination |
|
Upper bearing surface |
Perpendicular to the bolt axis |
If the washer is positioned incorrectly, it may increase the inclination. The nut or bolt head will then bear unevenly.
The inclination must be checked for the specific standard and section. A slope expressed as a percentage and an angle expressed in degrees are not interchangeable.
Removal. Once the fastener has been unscrewed, the washer is removed.
Reuse. Suitability for reuse is determined by the condition of the bearing surfaces and the assembly requirements.
How to Remove Starlock AN 82 When the Shaft Must Be Preserved
Preserving the washer and preserving the shaft are different tasks. If the shaft is needed for further use, protecting its surface becomes the priority, and the washer is replaced after removal.
One approach is to weaken the washer with a controlled cut, then spread it open and remove it without forcibly pulling it along the shaft. However, for AN 82, the tool and procedure must be verified on a sample with the same dimensions and shaft material.
Before starting work, determine:
- whether there is access to fit a protective plate between the washer and the assembly components;
- where a cut can be made without the tool contacting the shaft;
- how to limit the cutting depth;
- how to hold the washer while opening and removing it.
Secure the assembly, protect adjacent surfaces and prevent chips and fragments from entering bearings or moving mechanisms. After removal, inspect the shaft for grooves, burrs and coating damage.
Once the washer has been destroyed, it cannot be reused and must be replaced. Even controlled removal does not guarantee that the shaft will remain undamaged.
How does a washer's design affect its installation and removal? In this expert video, we'll show you practical examples and explain what to look out for while working.
Common Mistakes During Washer Installation and Removal
|
Mistake |
Possible Consequence |
|
Incorrect size or type |
Washer deformation, insufficient support or failure to perform the required function |
|
Incorrect orientation |
Uneven contact or impaired operation of the locking surfaces |
|
One Nord-Lock washer instead of a pair |
Wedge-locking does not function |
|
A Nord-Lock pair assembled with the serrations facing inward |
The cams do not interact correctly |
|
Incompatible HV assembly components |
The specified preloading result cannot be reliably achieved |
|
Unscrewing a nut with the tab still engaged |
Tab breakage or damage to the nut or groove |
|
Forcibly pulling off a Starlock washer |
Grooves on the shaft and washer deformation |
|
Reinstalling damaged components |
Reduced load-bearing, spring or locking performance |
Tools for Installation and Removal
Tools are selected according to the operation: tightening the fastener, bending a tab, push-on installation or destroying the washer.
|
Washer Type |
Installation Tool |
Removal Tool |
|
Flat |
Wrench or socket for the fastener; torque wrench if a tightening torque is specified |
Suitable wrench or socket |
|
Spring |
Tightening tool specified in the assembly documentation |
Wrench or socket for loosening |
|
Structural HV |
Calibrated tool and monitoring equipment appropriate to the selected procedure: torque, angle or preload control |
Loosening tool used according to the approved dismantling procedure |
|
Nord-Lock |
Wrench or socket; tightening control equipment required for the assembly |
Suitable wrench or socket |
|
Toothed |
Fastener tightening tool |
Loosening tool |
|
Tab |
Nut wrench and a tool for controlled bending of the tab |
Tool for disengaging the tab, followed by a nut wrench |
|
Starlock AN 82 |
Installation tool and a device for applying uniform axial pressure |
Cutting or destructive removal tool verified by an expert on a sample |
|
Taper |
Wrench or socket with the specified tightening control |
Wrench or socket |
Can Washers Be Reused?
Suitability for reinstallation depends on the washer design, its condition and the joint requirements.
|
Washer Type |
Reuse |
What to Check |
When Replacement Is Required |
|
Flat |
Possible if permitted by the assembly requirements |
Flatness, corrosion, dents and cracks |
If deformed or the bearing surface is damaged |
|
Spring |
According to the manufacturer’s recommendations |
Shape, cracks and permanent deformation |
If the required spring characteristic has been lost |
|
Structural HV |
According to the rules for the entire assembly |
Documentation, preloading history and component condition |
If reuse is not permitted or suitability has not been confirmed |
|
Nord-Lock |
Possible after inspection |
Cams and serrations on both washers |
If the working surfaces are damaged or worn |
|
Toothed |
Depends on the manufacturer and assembly |
Teeth, shape and corrosion |
If the teeth are flattened, broken or significantly worn |
|
Tab |
Only if permitted |
Cracks near bends and the condition of the internal tab and locking tabs |
If locking elements are damaged |
|
Starlock AN 82 |
Not possible after destruction |
Shaft condition before installing a new washer |
After destructive removal |
|
Taper |
Possible if permitted by the assembly requirements |
Geometry, bearing surfaces and corrosion |
If deformed, cracked or unsuitable for the section |
This presentation covers the main functions of washers, diagrams showing their correct orientation, and tips for removing them.
Questions and Answers
Do all washers protect a joint against self-loosening?
No. Flat washers mainly distribute the load, while taper washers compensate for an inclined surface. Preventing self-loosening requires a solution selected for the joint’s operating conditions.
Does it matter which side of a washer faces outward?
Yes, for many designs. Orientation determines how the chamfer of an HV washer, the Nord-Lock cams, tabs, Starlock teeth and inclined surfaces of a taper washer function. For flat washers, check the requirements of the specific assembly.
Why are Nord-Lock washers installed in pairs?
Wedge-locking occurs between two washers. A single washer does not provide the required pair of cam surfaces.
How does an HV structural washer differ from an ordinary flat washer?
It has specified requirements for geometry and mechanical properties and forms part of the corresponding high-strength bolting assembly. It must not be replaced with an ordinary washer merely because the diameter matches.
Can Starlock AN 82 be removed without destroying the washer?
This design does not provide for routine removal while preserving the washer. If the shaft must be preserved, select a removal method on the assumption that the washer will be replaced.
Which washers can be reused?
Flat and taper washers can often be reinstalled after inspection. Spring washers, toothed washers and tab washers are subject to the manufacturer’s instructions and the assembly requirements. For Nord-Lock, inspect both working surfaces of each washer. For HV, assess the entire assembly, and replace any destroyed Starlock washer.